R7 Shaping techniques
I have used a used several shaping techniques but I do not want to give myself a higher skills rating at this time.
Initial skills rating **
September 2011
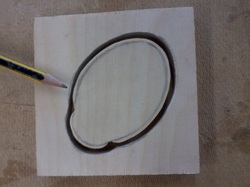
Having cut two pieces of 9mm ply approximately I00mm square, I took one piece and marked out the shape of a ladybird. This will form one half of a two part mould. I chose a ladybird as it has lovely concave edges. The moulded acrylic should release easily from the mould.The ball bearings will form part of the design by helping to form the spots of the ladybird.
I drilled a hole large enough to pass a coping saw blade through. I opted for using hand tools because in my previous role as a D&T technician I mainly used machines and I wanted to use this opportunity explore hand tools. I want to become familiar with the feel of the tools on the different materials, to know the strengths and weaknesses of each. I want to know what I will be asking future students to achieve and to have some idea about some of the challenges they may face.It was almost as if the teeth of the coping saw were just rubbing against the hard layers of glue in the ply wood. Progress was slow until the technician gave me a brand new blade with more TPI (teeth per inch). Much better!
I drilled a hole large enough to pass a coping saw blade through. I opted for using hand tools because in my previous role as a D&T technician I mainly used machines and I wanted to use this opportunity explore hand tools. I want to become familiar with the feel of the tools on the different materials, to know the strengths and weaknesses of each. I want to know what I will be asking future students to achieve and to have some idea about some of the challenges they may face.It was almost as if the teeth of the coping saw were just rubbing against the hard layers of glue in the ply wood. Progress was slow until the technician gave me a brand new blade with more TPI (teeth per inch). Much better!
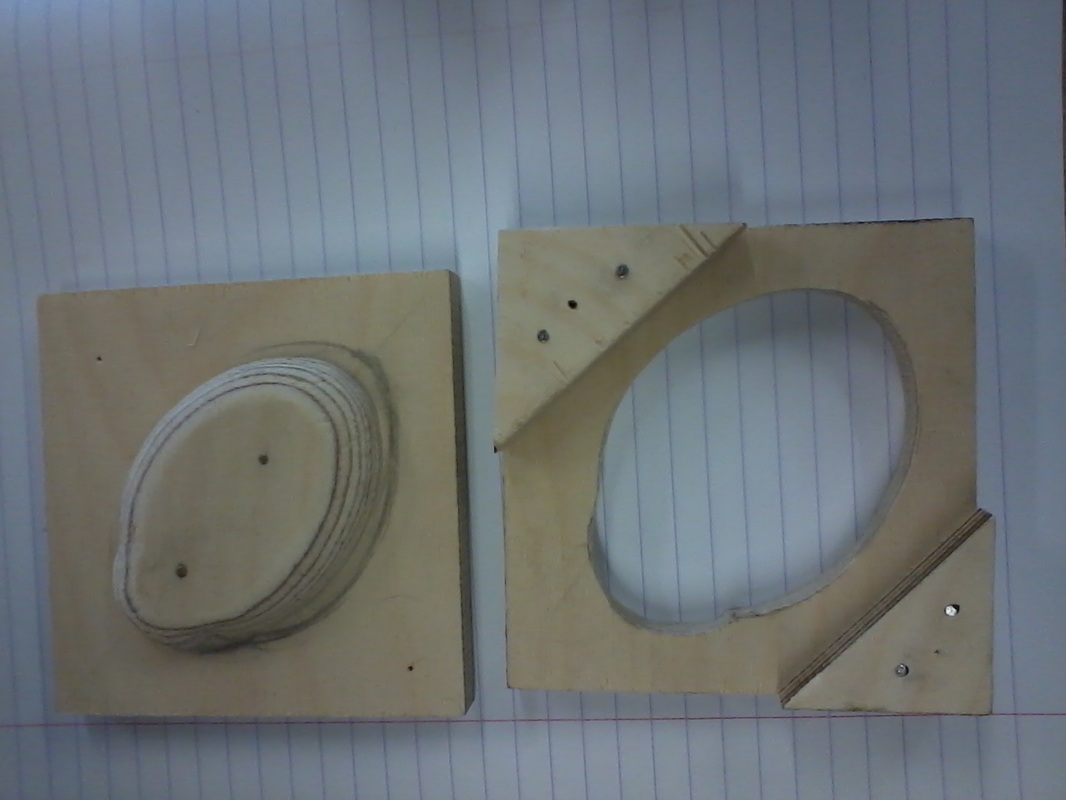
Two part mould
Having cut two pieces of 9mm ply approximately I00mm square, I took one piece and marked out the shape of a ladybird. This will form one half of a two part mould. I chose a ladybird as it has lovely concave edges. The moulded acrylic should release easily from the mould.The ball bearings will form part of the design by helping to form the spots of the ladybird.
I drilled a hole large enough to pass a coping saw blade through. I opted for using hand tools because in my previous role as a D&T technician I mainly used machines and I wanted to use this opportunity explore hand tools. I want to become familiar with the feel of the tools on the different materials, to know the strengths and weaknesses of each. I want to know what I will be asking future students to achieve and to have some idea about some of the challenges they may face.It was almost as if the teeth of the coping saw were just rubbing against the hard layers of glue in the ply wood. Progress was slow until the technician gave me a brand new blade with more TPI (teeth per inch). Much better!
They did not use bench pegs in my last school so at some point I would like to try just using a woodworking vice. Mr T (my name for the technician from here on as he wouldn’t tell me his name and said I could call him anything) advised me to have the bench peg flat side up as the material I was cutting was flat. I think when I was silversmithing we used the sloped side up regardless of the shape of the work but it worked anyway.
Taking the ladybird cut out, I needed to remove approximately 3mm of material all round (equal to the thickness of acrylic I will be using. I have never used a bobbin sander before. It looked a bit scary with its vertical motion as well as rotational motion but this was my chance. Nice machine, I soon found myself instructing my colleagues. I was pleased that the ply did not split.
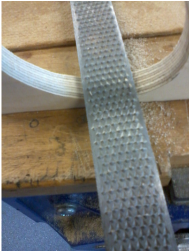
Placing my ladybird cut out inside its negative shape, I was able to access any areas that needed a little more material removing. The tool for this was the rasp. I decided I wanted to test the rasp a little more and opted to round the edges of my ladybird. I hoped by doing this I would:
I have never even seen a rasp before today but what a wonderful effective tool it is! It quickly removed unwanted material with very little damage. So with a quick touch of sandpaper my two part mould was ready for assembly.
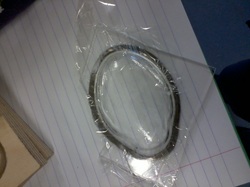
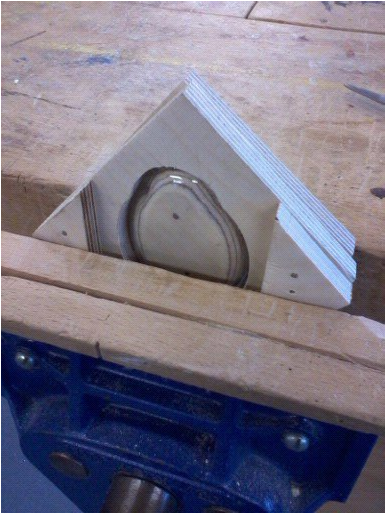
With a few panel pins and a couple of triangles of ply my mould was ready to be put into action.
I drilled a hole large enough to pass a coping saw blade through. I opted for using hand tools because in my previous role as a D&T technician I mainly used machines and I wanted to use this opportunity explore hand tools. I want to become familiar with the feel of the tools on the different materials, to know the strengths and weaknesses of each. I want to know what I will be asking future students to achieve and to have some idea about some of the challenges they may face.It was almost as if the teeth of the coping saw were just rubbing against the hard layers of glue in the ply wood. Progress was slow until the technician gave me a brand new blade with more TPI (teeth per inch). Much better!
They did not use bench pegs in my last school so at some point I would like to try just using a woodworking vice. Mr T (my name for the technician from here on as he wouldn’t tell me his name and said I could call him anything) advised me to have the bench peg flat side up as the material I was cutting was flat. I think when I was silversmithing we used the sloped side up regardless of the shape of the work but it worked anyway.
Taking the ladybird cut out, I needed to remove approximately 3mm of material all round (equal to the thickness of acrylic I will be using. I have never used a bobbin sander before. It looked a bit scary with its vertical motion as well as rotational motion but this was my chance. Nice machine, I soon found myself instructing my colleagues. I was pleased that the ply did not split.
Placing my ladybird cut out inside its negative shape, I was able to access any areas that needed a little more material removing. The tool for this was the rasp. I decided I wanted to test the rasp a little more and opted to round the edges of my ladybird. I hoped by doing this I would:
- Experiment with the rasp working across the edge of the ply.
- See if when I rounded my ply whether the plastic would still pull tightly around the mould and give a more realistic ladybird profile.
I have never even seen a rasp before today but what a wonderful effective tool it is! It quickly removed unwanted material with very little damage. So with a quick touch of sandpaper my two part mould was ready for assembly.
With a few panel pins and a couple of triangles of ply my mould was ready to be put into action.
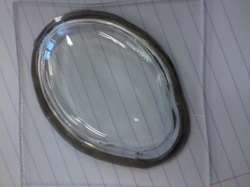
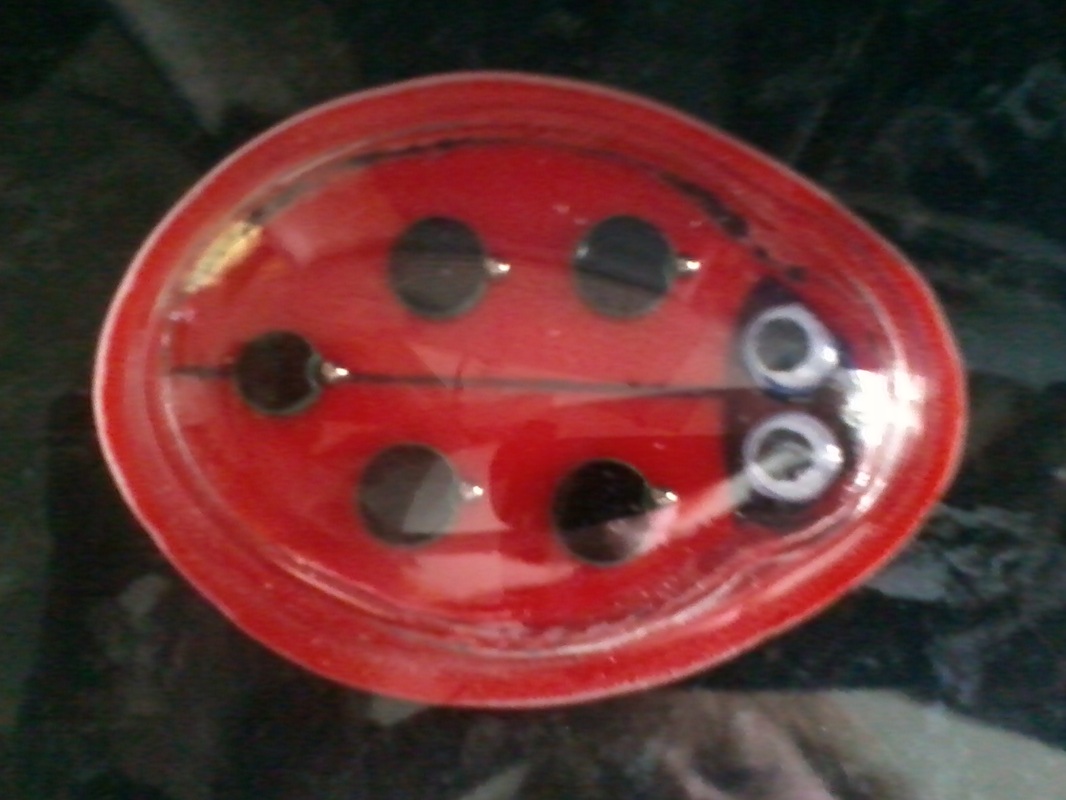
Cutting a small square of acylic the same size as the wood I heated the
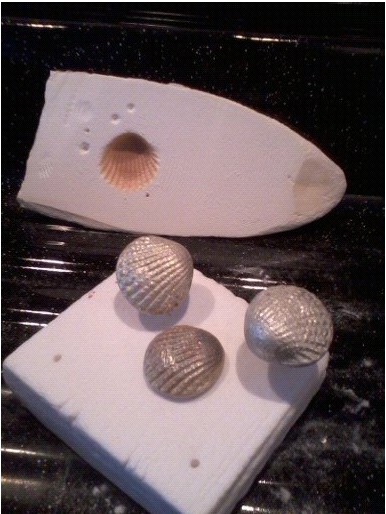
Annealing aluminium and copper
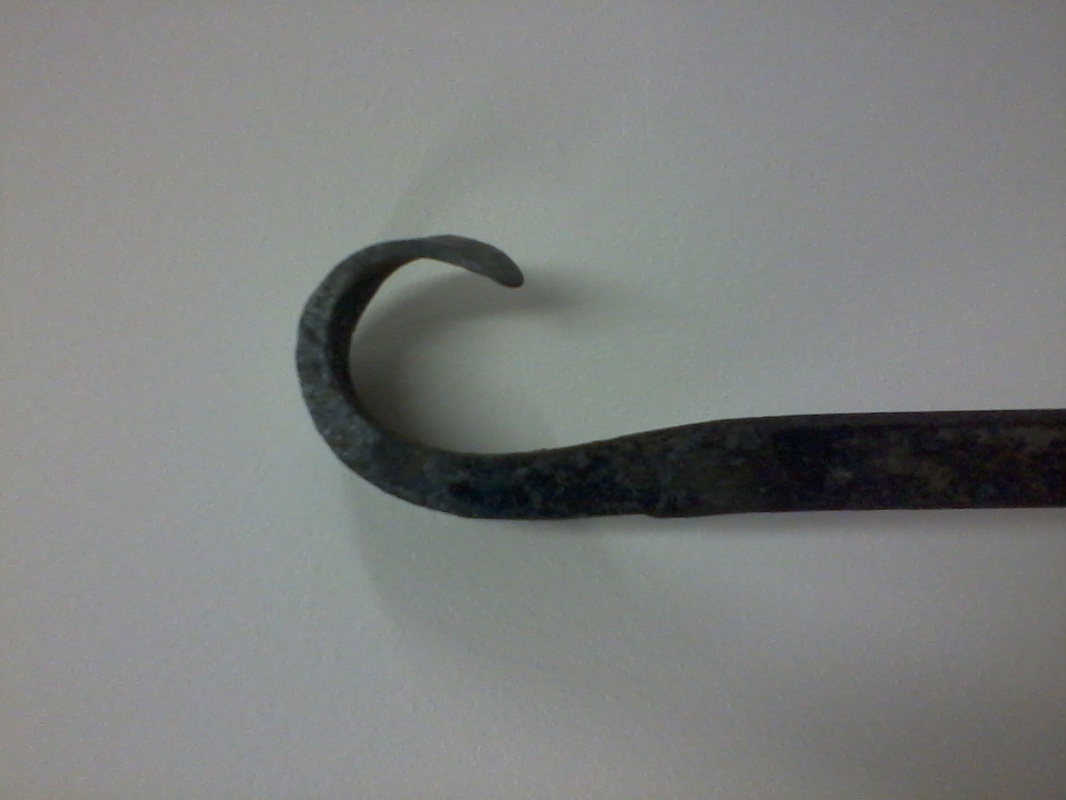
I have annealed copper and silver before but I have never aluminium before. Annealing aluminium must be one of the easiest metals to know when it has reached the correct temperature. Simply rub a bar of soap on one surface and heat with a brazing torch until the soap turns black. When the aluminium becomes work hardened the annealing process can be repeated.
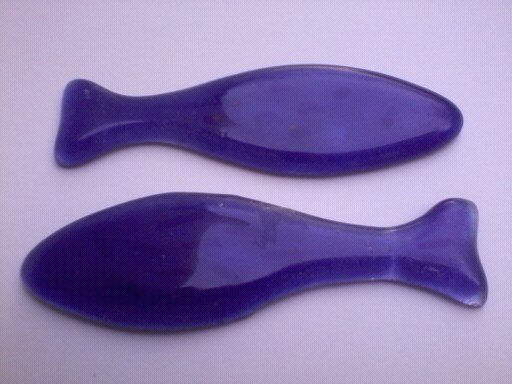
Casting glass
I tried to cast a smashed up wine bottle. I could not find a melting temperature for bottle glass so I used a firing schedule from a warm glass book. I am not sure why but the kiln kept getting a head of the firing schedule and each time I found the kiln cooling down before the glass had fused properly. At first I thought I was just not holding the temperature long enough for the glass to reform then I thought I was not getting it hot enough.Eventually I took my kiln to the top temperature and the glass only came out tacked. It was only with yet another internet search that I found the melting temperature of bottled glass exceeded the capabilities of my kiln.
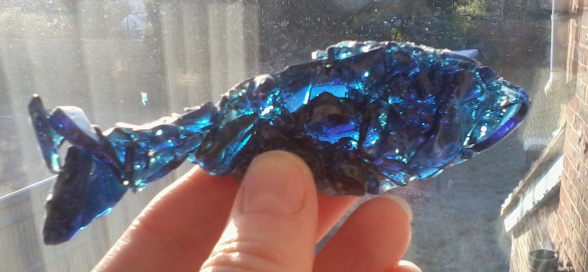
I tried again using a clear base glass and fine frit (powdered glass). Both the frit and the sheet glass have the same coefficient of expansion. This is very important otherwise as the glass cools, if the expansion and therefore contraction rates are different the glass would pull apart or at the very least the glass would set up stress points that are not visible to the naked eye and at some point the glass would shatter unexpectedly.

Eventually I had two glass fish and a mould that I could be used over and over again.
Now I am never going to be at the front of the queue when it comes to confidence. I will always worry about what I cannot do but what I have to realise is this is just a state of mind. There will always be millions of things I could learn to do and everything could always be done better and faster. i expect if I was good at sticking to one thing I would be quite good at it by now but I just love to learn new skills for making things. Jack of all trades master of none.
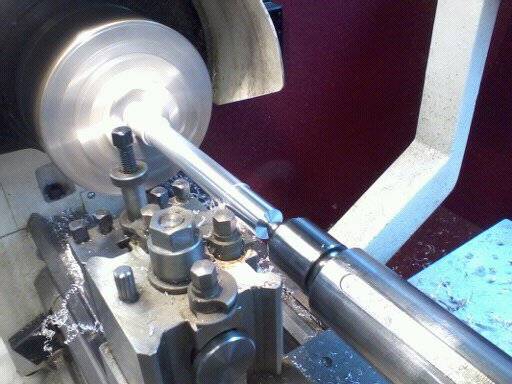
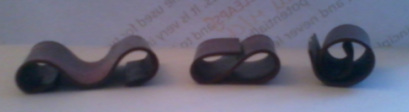
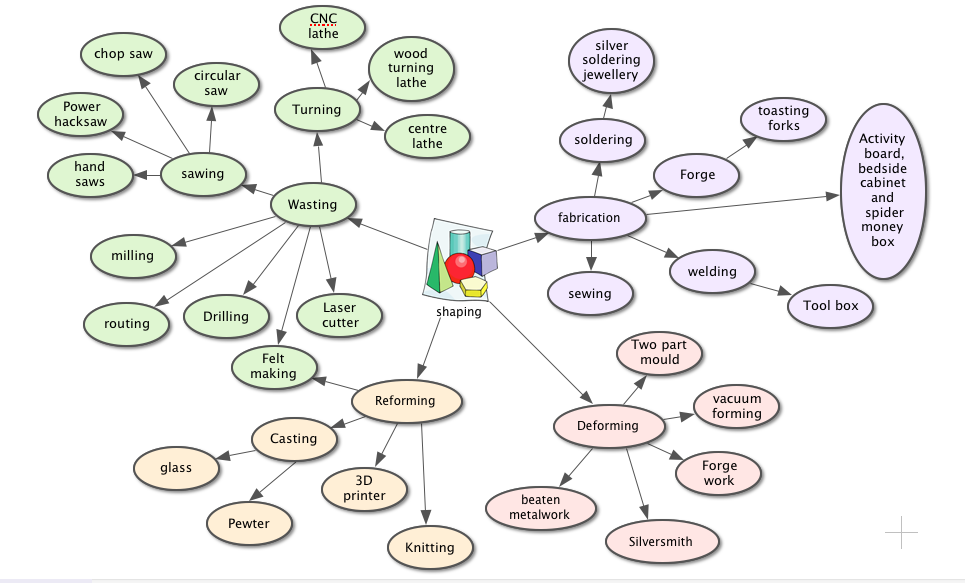
With the exception of a couple of the bubbles above these are the shaping techniques I have used this year. Some were new to me like the laser cutter, 3D printer and the CNC machines others like the welding, turning and blacksmithing were refreshers. What ever they were new skills or old they should leave me proud of the variety.
At the start of this course I was reluctant to ever rate my knowledge above two stars which meant I did not feel I could talk about my skills in a useful way. When I look at BBC Bitesize I feel more able to put my skills and knowledge into context. I would feel confident talking about the many methods of shaping I have tried along with the industrial processes I have learned about. I also feel I would be competent. So I think I will finish here with a new skills rating
*****
