R10 Heat treatment
Initial skills ratings **
September 2011
I have some experience of heat treatments used in metalworking. I have heated tool steel to a blue colour and quenched it in oil to harden the points of pin punches and a centre punch that I made as part of my engineering apprenticeship.
I have also annealed glass in a kiln and silver for jewellery making. I cannot really remember annealing copper but I know I did this for a beaten metalwork pot in secondary school.
Annealing Copper
Annealing is an important heat treatment process where metal is heated to releave the stresses within; stresses that have occurred due to the work hardening that has taken place rolling metal into sheets etc. Once annealed the metal is soft and workable when cold.
As metals are heated they change colour. For each metal there is a corresponding colour that denotes the annealing temperature. For copper this is a dark red.
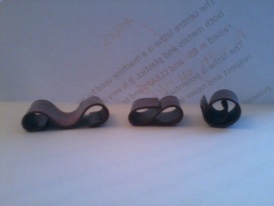
The first pieces of copper I annealed were not that soft and could only be bent a little before they needed reheating. As I became more confident I experimented and held the colour for a short while before removing the heat. This resulted in a much more workable piece of copper as seen at the right hand of the photograph.
When cold working metal they become less responsive to the blows of the hammer i.e. they deform less. This is when they have been work hardened and require annealing before reworking. If working continues the metal will split.
As metals are heated they change colour. For each metal there is a corresponding colour that denotes the annealing temperature. For copper this is a dark red.
The first pieces of copper I annealed were not that soft and could only be bent a little before they needed reheating. As I became more confident I experimented and held the colour for a short while before removing the heat. This resulted in a much more workable piece of copper as seen at the right hand of the photograph.
When cold working metal they become less responsive to the blows of the hammer i.e. they deform less. This is when they have been work hardened and require annealing before reworking. If working continues the metal will split.
Annealing aluminium
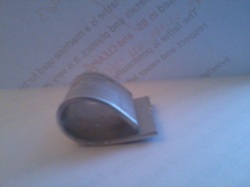
I did not realise aluminium could be annealed and work hardened just like copper. i have always thought of aluminium as a soft malleable metal. I guess when I have used it I have only been interested in making a single bend. I have never considered working it further.
To anneal aluminium draw on one surface with a bar of ordinary household soap, heat until the soap turns black and quench in cold water
To anneal aluminium draw on one surface with a bar of ordinary household soap, heat until the soap turns black and quench in cold water
Annealing colours
Brass - Blackish - Quench (rapid cooling in water inhibits grain growth)
Copper - Deep red - Quench in water
Silver - salmon ( this becomes harder to see with subsequent heatings) - Quench in water - clean in a pickling solution
steel - cherry red - cool naturally
Stainless steel - orangey red for ten minutes
Copper - Deep red - Quench in water
Silver - salmon ( this becomes harder to see with subsequent heatings) - Quench in water - clean in a pickling solution
steel - cherry red - cool naturally
Stainless steel - orangey red for ten minutes
Principles common to annealing all metals
- Arrange fire bricks around the metal this will help deflect the heat towards the metal.
- The hottest part of the flame is at the tip.
- Move the flame over the metal surface so that the metal is heated uniformly but note thinner sections will get hotter quicker so heat the larger cross sections first and then gradually include the thinner sections. Remember metal is a conductive so even if the flame is not directly on the small sections, they too will be getting hot.
- see proforma for general health and safety guidelines.
Using the forge
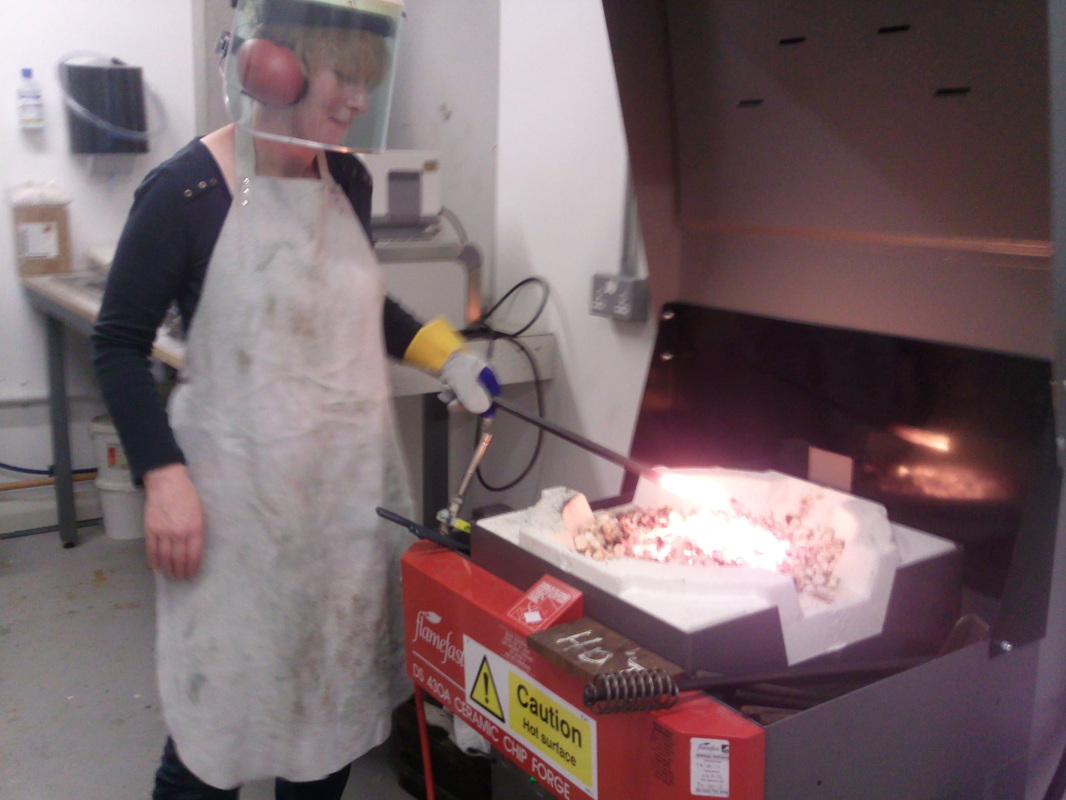
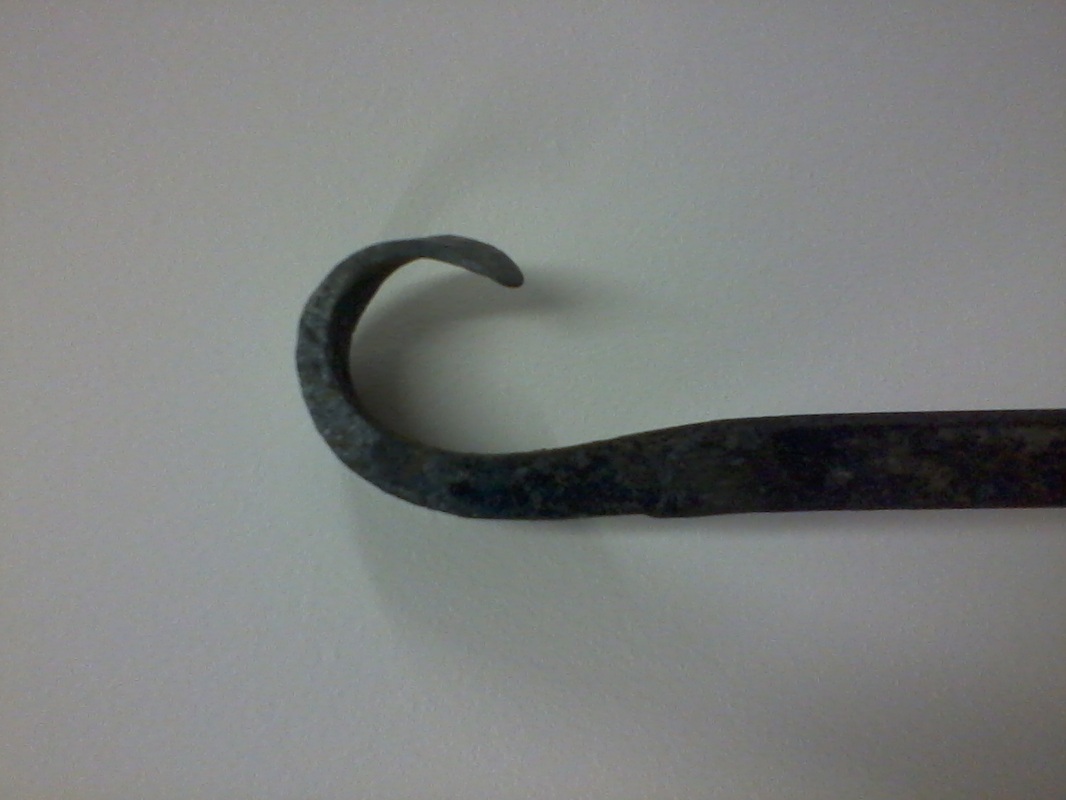
I thought it would be really nice to try out the hot chip forge as I have never used this type of forge before. So Biff and I forged a hook shape between us from a mild steel bar. I am unlikely to do any more forge work because I have done some blacksmithing in the past.
It is important to wear a leather apron, safety shoes, gauntlets, ear protection and face shield.
Remember the hottest part of the forge is the centre. The mild steel bar is pushed into the centre where it can be heated to a bright glowing red colour. If the metal is over heated it will fizz like a sparkler when bought back into the air. Not only has some of the metal burnt away but the remaining hot metal becomes brittle. When the metal is bright red it is ready to be worked on the anvil.This is where the saying "in the heat of the moment"comes from. It is very important that no one is near you when you transfer your metal from forge to anvil. Any skin contact would cause serious burns.
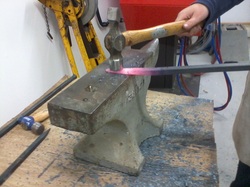
We did not have heavy hammers at uni which made working the metal quite difficult. It is the weight of the hammer along with the swing that provides the force that deforms the metal. A one or two pound hammer is good for this. Your wrist should remain relaxed, raising the hammer above your head and with a swinging motion from the shoulder the hammer should be bought down onto the metal. As the hammer hits the hot metal, the metal spreads and the hammer rebounds up. It is important to have a loose wrist so that the shock is not absorbed by the wrist. This process can be repeated until the metal becomes less responsive at which point it should be put back in the forge and re-heated. Ah such fun! Because the anvil had not been secured it did a little whilst working the metal. this would not be good practise in a school but for a one off event it was worth the small risk
For further safety notes please see the proforma.
It is important to wear a leather apron, safety shoes, gauntlets, ear protection and face shield.
Remember the hottest part of the forge is the centre. The mild steel bar is pushed into the centre where it can be heated to a bright glowing red colour. If the metal is over heated it will fizz like a sparkler when bought back into the air. Not only has some of the metal burnt away but the remaining hot metal becomes brittle. When the metal is bright red it is ready to be worked on the anvil.This is where the saying "in the heat of the moment"comes from. It is very important that no one is near you when you transfer your metal from forge to anvil. Any skin contact would cause serious burns.
We did not have heavy hammers at uni which made working the metal quite difficult. It is the weight of the hammer along with the swing that provides the force that deforms the metal. A one or two pound hammer is good for this. Your wrist should remain relaxed, raising the hammer above your head and with a swinging motion from the shoulder the hammer should be bought down onto the metal. As the hammer hits the hot metal, the metal spreads and the hammer rebounds up. It is important to have a loose wrist so that the shock is not absorbed by the wrist. This process can be repeated until the metal becomes less responsive at which point it should be put back in the forge and re-heated. Ah such fun! Because the anvil had not been secured it did a little whilst working the metal. this would not be good practise in a school but for a one off event it was worth the small risk
For further safety notes please see the proforma.
Toasting forks and other things
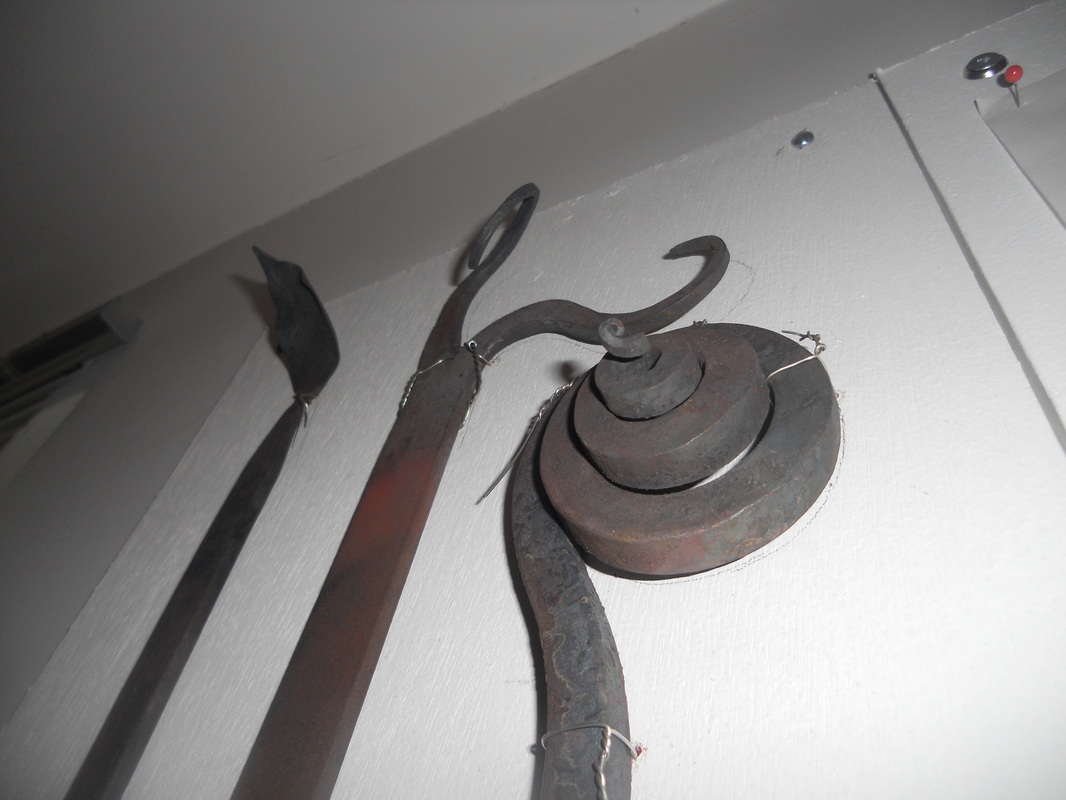
I was given a weekend blacksmithing course and a bag of six inch nails for a forty something birthday present one year. I actually think it was the best birthday present I have ever had.
I hammered the nails into a sleeper but a tree stump would have been just as good. The idea was to develop to the blacksmiths hammering technique. It was very good practice for eye hand coordination. I honestly think I would not have been very successful on my course if I had not had the practice first.
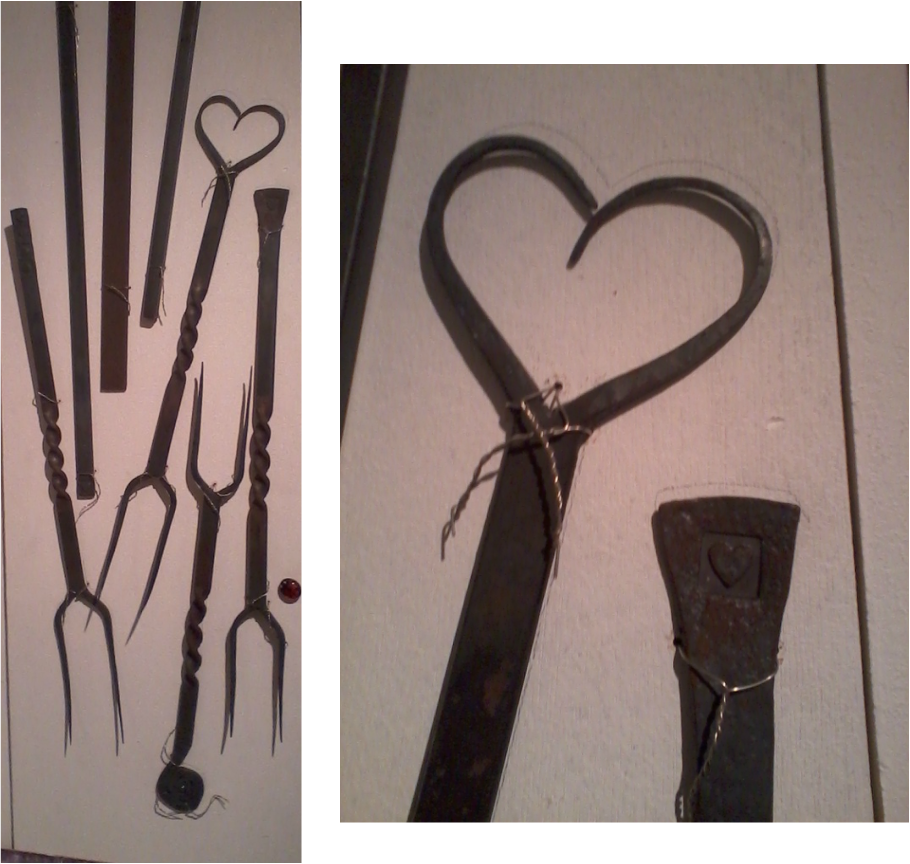
First I learned basic techniques before moving on to making a set of toasting forks, each one being slightly different. I used stamps to add patterns to the hot metal.
I hammered the nails into a sleeper but a tree stump would have been just as good. The idea was to develop to the blacksmiths hammering technique. It was very good practice for eye hand coordination. I honestly think I would not have been very successful on my course if I had not had the practice first.
First I learned basic techniques before moving on to making a set of toasting forks, each one being slightly different. I used stamps to add patterns to the hot metal.
Glass casting ****
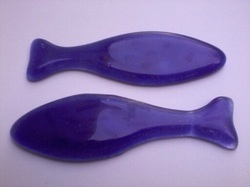
Casting glass requires temperatures high enough to make the glass molten During the cooling down process it is important to hold the glass at the annealing temperature for a period of time, how long depends on the size of the piece. As with metal the molecules need time to realign. However if the annealing time is not allowed the glass will shatter when it cools due to the stresses within.
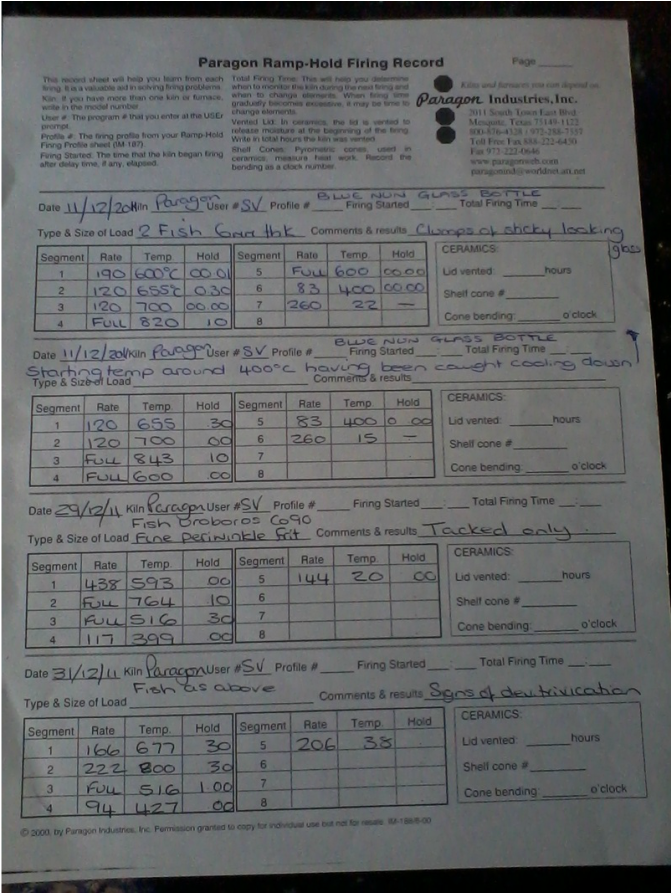
It is important to keep a firing log so that successful processes can be repeated. Oh unsuccessful processes can be modified and the results recorded. I did this when making glass fish for my bedside cabinet.
It is essential when fusing more then one type of glass that they share the same coefficient of expansion. Otherwise as they cool, when they shrink at different rates stresses will occur within the glass. This will either cause teh glass to shatter as it cools or it will suddenly shatter at a later date quite unexpectedly.
Firing schedules